
You can hear the problem before the mastering engineer does. The mix sounds solid in your session, but once you export it, something feels smaller, flatter, or harsher than what you approved in your head. That is why artists and producers keep asking what file format to send for mastering - because the export stage is where good mixes get protected or compromised.
The short answer is simple: send a stereo WAV or AIFF file at the mix’s native sample rate, ideally in 24-bit or 32-bit float, with no limiter on the mix bus unless it is part of the sound. If you stop there, you will already avoid most preventable mastering issues. But there are a few details that matter if you want the cleanest, most reliable result.
What file format to send for mastering
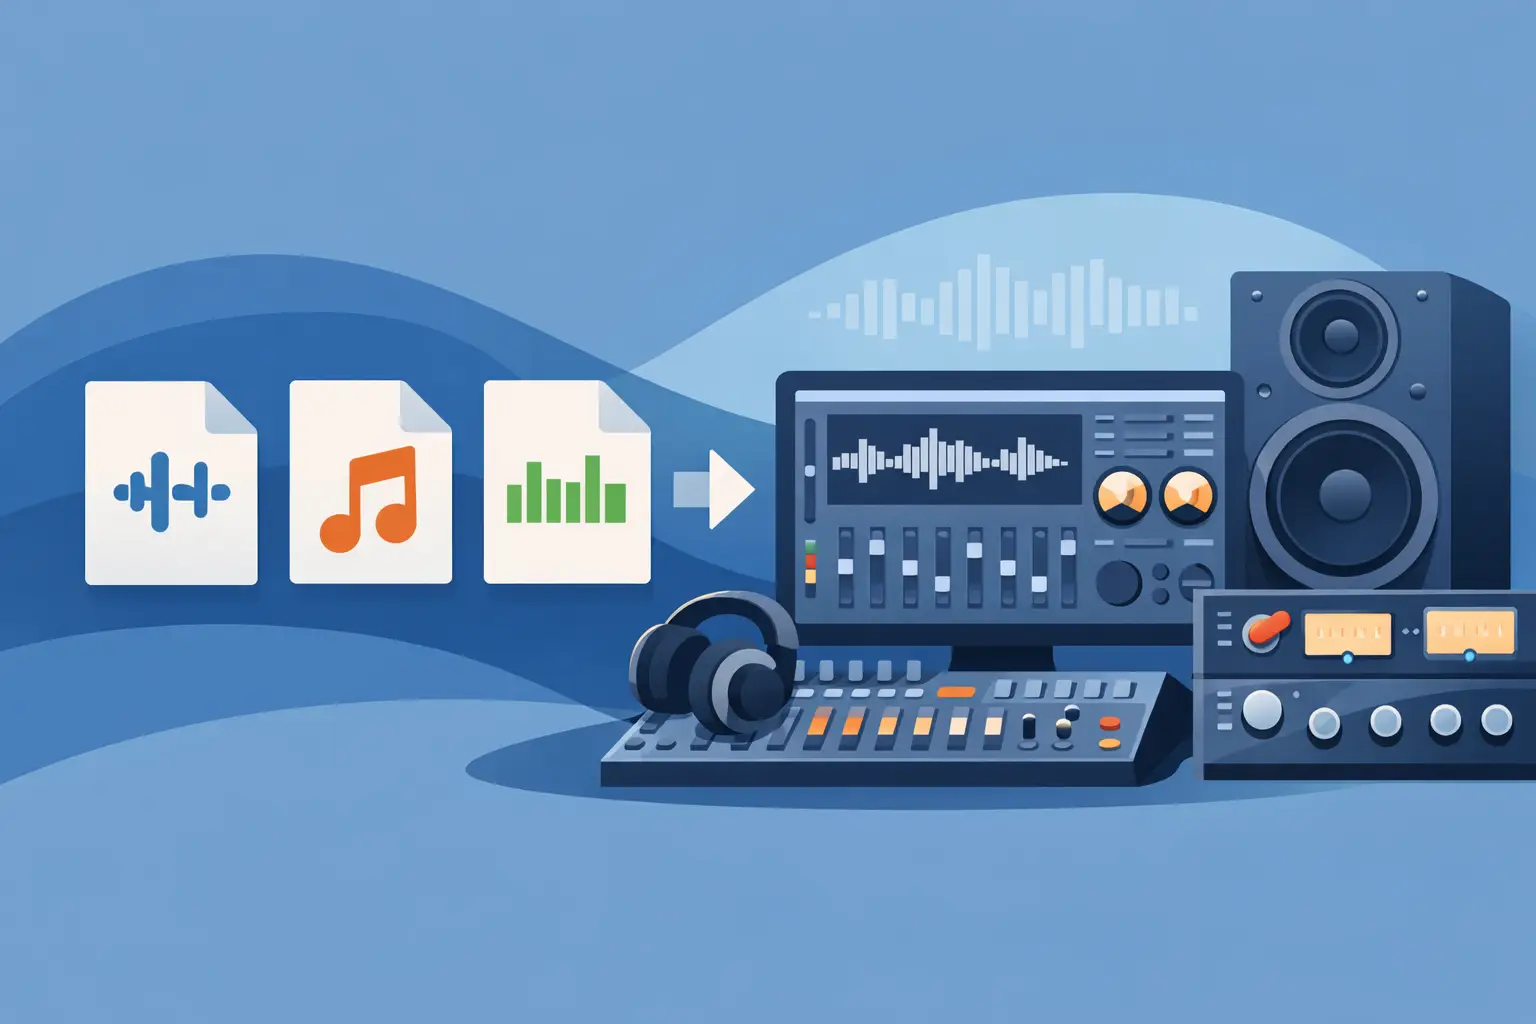
For most projects, the best file format to send for mastering is a stereo interleaved WAV file. AIFF is also fine. Both are uncompressed, high-quality formats that preserve the full detail of your mix and give the mastering engineer the cleanest source to work from.
If your DAW defaults to WAV, use WAV. If you work on a system that exports AIFF more naturally, AIFF is equally acceptable in most professional workflows. There is no sonic advantage of one over the other when the settings match. The real priority is sending an uncompressed file that has not been converted to a lossy format.
MP3, AAC, OGG, and other compressed formats should not be your mastering source. They throw away audio information, smear transients, and can exaggerate artifacts in the upper mids and high end. A good mastering engineer can still evaluate a compressed file, but that is not the same as wanting to master from it.
The right bit depth and sample rate
After file type, the next question is usually about resolution. In most cases, export the mix at the same sample rate and bit depth you used during mixing. If your session is 24-bit, 48 kHz, send that. If it is 24-bit, 44.1 kHz, send that. If your DAW allows 32-bit float export, that is often an excellent option because it preserves extra headroom and reduces the chance of clipping during export.
What you do not want is unnecessary sample-rate conversion just because you think a bigger number looks more professional. Upsampling a 44.1 kHz session to 96 kHz before mastering does not create new detail. It just adds another processing step, and every extra conversion is one more chance to introduce errors.
The same logic applies to bit depth. If your mix was built in 24-bit, send 24-bit. If 32-bit float is available and your engineer accepts it, that can be even better. There is rarely a reason to reduce your file to 16-bit before mastering. That step belongs at the final delivery stage if a specific format requires it, not before the mastering process begins.
How much headroom should you leave?
A lot of mix engineers have heard the rule about leaving 6 dB of headroom, and while that is a safe target, it is not a hard law. What matters more is that your mix is not clipping and is not crushed by heavy limiting.
If your peaks are landing somewhere below 0 dBFS and your mix bus is clean, the mastering engineer has room to work. A mix peaking around -3 to -6 dBFS is completely comfortable. A mix peaking at -1 dBFS can also be fine if it is not distorting. The bigger issue is a mix that is already slammed for loudness, because once transient shape and dynamic range are flattened too aggressively, mastering becomes damage control instead of enhancement.
If you love the sound of your bus compressor, EQ, tape plugin, or console emulation, leave it on. If it is part of the mix, it belongs there. But if you have a limiter on the stereo bus only to make the track louder for reference, turn it off and export a clean version for mastering.
One stereo file, not a session export mess
The mastering engineer typically wants one final stereo mix file per song, not your DAW session and not a folder full of rough exports with unclear names. Clean delivery speeds up the process and reduces mistakes.
Print your mix from bar one, or from a clearly defined start point, and include the full natural tail of the song. Do not cut off reverb and delay tails just because the waveform looks finished. If there is a cold ending, leave a little space after it. If there is intentional silence at the top, note that in your delivery.
File naming matters more than people think. A clear name like `ArtistName_SongTitle_MixForMaster_24-48.wav` is helpful. Names like `finalfinal2_NEW.wav` are how wrong versions get approved.
Should you send stems instead?
Usually, no. If the mix is finished, send the final stereo mix. Mastering is built around enhancing a completed mix, not rebuilding one.
That said, there are situations where stem mastering makes sense. If the vocal balance is close but not perfect, if the low end needs better control, or if the instrumental density is limiting what can be done in stereo mastering, stems can offer more precision. It depends on the project and the problem you are trying to solve.
A good rule is this: if your balances are approved and the song is mixed, send the stereo file. If there are a few mix-level issues you cannot fix easily in recall, ask first whether stems would help. That conversation is better than guessing.
What not to do before you export
Most mastering problems start with a few avoidable habits. One is normalizing the file. Another is exporting through a loudness-maximizing chain that was only meant for client playback. Another is sample-rate converting on export for no practical reason.
Also avoid clipping your master bus, even if your DAW says it can recover internally. If the printed file is clipped, that distortion is now part of the source. And do not dither unless you are specifically reducing to a lower bit depth for a required final format. Dither is not something to add just because it is available in the export menu.
If you are sending reference tracks, include them separately and label them clearly as references. Do not process your mix to mimic them on the way out. Let the mastering engineer hear your actual mix and use the references for tonal and level direction.
What file format to send for mastering if you need vinyl, CD, or streaming
The source format you send for mastering is still usually the same - a high-resolution WAV or AIFF. What changes is the final deliverable.
If you need streaming masters, the engineer may prepare files optimized for platform delivery while preserving translation and musical impact. If you need a CD master, that may lead to Red Book-compliant sequencing and DDP image creation. If you need a vinyl pre-master, the engineer may make different decisions about low-end width, sibilance, sequence spacing, and side length.
This is where it helps to communicate your release format before the work starts. The mix file you send does not need to change much, but the mastering approach might. A track headed to streaming only is a different job than a project that also needs Apple Digital Masters, CD/DDP, or vinyl preparation.
A simple export checklist that actually helps
Before sending your files, check five things. Export a stereo interleaved WAV or AIFF. Keep the native sample rate. Use 24-bit or 32-bit float if available. Remove loudness-only limiting from the mix bus. Make sure the printed file is the exact approved mix version.
That is enough for most projects. You do not need a complicated handoff if the fundamentals are right.
When to ask the engineer before sending
There are a few situations where asking first can save time. If your mix bus chain is heavy, if your session clips internally but the export does not, if you are unsure whether to send stems, or if you are delivering unusual formats, get clarification before export.
That kind of communication is part of a professional mastering workflow, not a sign that you are unprepared. At LB-Mastering Studios, this is exactly why direct engineer communication, mix evaluation, and proofing matter. The goal is not just to receive a file. The goal is to get the right file into the chain so the master can do its job.
If you are still second-guessing your export, trust the simple version: send the cleanest uncompressed mix you have, at its native resolution, with enough headroom and no unnecessary processing. A strong master starts with a clean handoff, and that part is still in your control.