

You can usually tell within 20 seconds if a master is going to work for your track. The kick either sits, the vocal either holds its place, and the top end either feels expensive or it feels like it is trying too hard. That is why a free preview is not a gimmick when it is done right. It is a quality-control checkpoint before you commit your release to a sound.
Online mastering with free preview is also a practical fix for a real problem: most artists are approving masters in rooms that are not neutral. If you are listening on headphones at 1 a.m., or in a car after a long day, you want a way to confirm the direction before the final deliverables are printed and labeled.
Online mastering with free preview: what it actually is
A real preview is not “here is a louder version of your mix.” It is a short proof master, typically a section of the song that includes your most demanding moments: full drums, bass movement, dense vocals, bright cymbals, and any big transitions. The goal is to let you hear the engineer’s approach to tone, dynamics, stereo image, and loudness without locking you into a full order.
The best previews are also honest about what is still unknown. If your mix has a limiter shaving 6 dB, or a resonant build-up around 250 Hz, a preview can show what the chain can do, but it can also reveal the ceiling you are working under. That transparency is the point.
Why “free preview” changes the risk equation
Mastering is the last audio decision before distribution, replication, and in some cases vinyl cutting. Revisions after files are delivered can mean relabeling, re-uploading, or correcting metadata. A free preview lets you confirm the sonic direction early, when changes are simple.
It also protects you from the two most common mastering regrets:
First, approving a master that is competitively loud but collapses the groove. Second, approving a master that sounds big in your room but turns harsh or thin everywhere else. A preview forces the conversation onto translation, not just loudness.
What you should listen for in a preview (beyond “it’s louder”)
Most clients can hear loudness immediately, but loudness is the easiest part to fake. The details below are what separate a release-ready master from a quick level bump.
Low end control and the kick-bass relationship
Listen to whether the kick and bass feel like a single system. In a good preview, the low end has shape and repeatability. The kick transient is present, but it does not feel detached from the body. The bass notes stay even as the arrangement changes. If your chorus feels bigger but the low end suddenly blooms or disappears, that is a translation risk waiting to happen.
Vocal focus and midrange “truth”
The midrange is where most playback systems live. Your preview should keep the vocal forward without turning it brittle. If you notice that consonants jump out in an unpleasant way, or the vocal feels pinned to the speakers, the master may be leaning too hard on upper mids. On the other hand, if the vocal gets masked when the track gets busy, the midrange balance is not finished.
Top end: air vs glare
A preview can sound exciting because the cymbals are brighter and the reverb tails are clearer. That is fine. The question is whether it stays smooth when you turn it up. A good master lets you raise volume without pain. If it sounds “impressive” at low volume but sharp at normal volume, that is glare, not air.
Dynamics that still move
Competitive does not have to mean flat. Pay attention to whether the chorus actually lifts, whether the snare still has impact, and whether the groove breathes. If everything feels pressed into the same size, you may be hearing too much limiting, clipping, or overly fast compression.
Stereo image and center stability
Wider is not always better. The preview should widen the right elements while keeping the center solid. If the vocal or kick feels smeared, or if the chorus feels wide but the mono check collapses, that is a sign the processing is trading stability for width.
The workflow you want from an online mastering service
The service matters as much as the sound. Online mastering is remote, which means clarity and checkpoints are your safety net. The most reliable process looks like this: evaluation, proofing, approval, and final delivery.
A solid engineer will start with a mix evaluation, even if it is informal. You want someone who will tell you when your mix is already in great shape and when a small fix will prevent a big mastering compromise.
Then comes the preview. This is where you confirm direction and communicate preferences in plain language: “the vocal feels a hair forward,” “the low end is great but the hi-hat is biting,” “can we keep the punch but smooth 4 to 6 kHz.” If you do not have mastering vocabulary, that is fine. Reference what you are hearing and where you are hearing it.
After you approve the direction, final masters should be created for the destinations you actually need, not a one-size export. Streaming, CD/DDP, Apple Digital Masters, and vinyl pre-masters are not the same target, and you should not be guessing.
Technical prep that makes previews meaningful
A preview is only as truthful as the mix you send. If you want the engineer’s choices to be the main variable, get the mix into a clean, predictable state.
Send a stereo mix at your native sample rate. Most modern projects are 24-bit, and that is a good default. Leave headroom so processing has room to work - peaks around -6 dBFS are a safe target. If your mix is already hitting 0 dBFS or you have a limiter on the mix bus doing heavy gain reduction, the preview will be forced to manage distortion and crushed transients instead of tone and translation.
Also, do not normalize or upsample “for mastering.” Export clean, with no sample rate conversion unless you have a specific reason. If you are unsure, ask for a quick evaluation before you export again.
If you used mix bus processing, keep it intentional
It depends. If your mix bus compressor is part of the sound and it is reacting gently, keep it. If it is doing 3 to 6 dB of constant gain reduction, or if a limiter is holding the track together, you are probably using mastering tools to solve mix problems. That does not mean you failed. It just means the preview may reveal that a small mix change will beat any mastering trick.
Free preview vs automated mastering: know the trade-off
Automated tools are fast and can be useful for rough checks, but they do not know your intent. They cannot ask what you want the vocal to feel like, or whether the low end should be tighter or heavier. They also cannot reliably hit multiple deliverable targets with human judgment.
A human-led preview gives you two advantages: context and accountability. Context means decisions are made based on the song, not a preset. Accountability means you can request a revision, describe what you are hearing, and get a response from a person who is responsible for the outcome.
How revisions should work in a preview-based model
A free preview should not turn into endless tweaking, but you should feel supported. The most productive revision notes are specific and tied to playback realities.
Instead of “make it warmer,” try “the vocal feels a bit sharp on earbuds” or “the bass note at 0:42 jumps out in the car.” You are not telling the engineer how to do the job. You are giving them your translation data.
If you only have time for one check, do it on two systems: your best headphones and your car. If it holds up there, it will usually hold up everywhere.
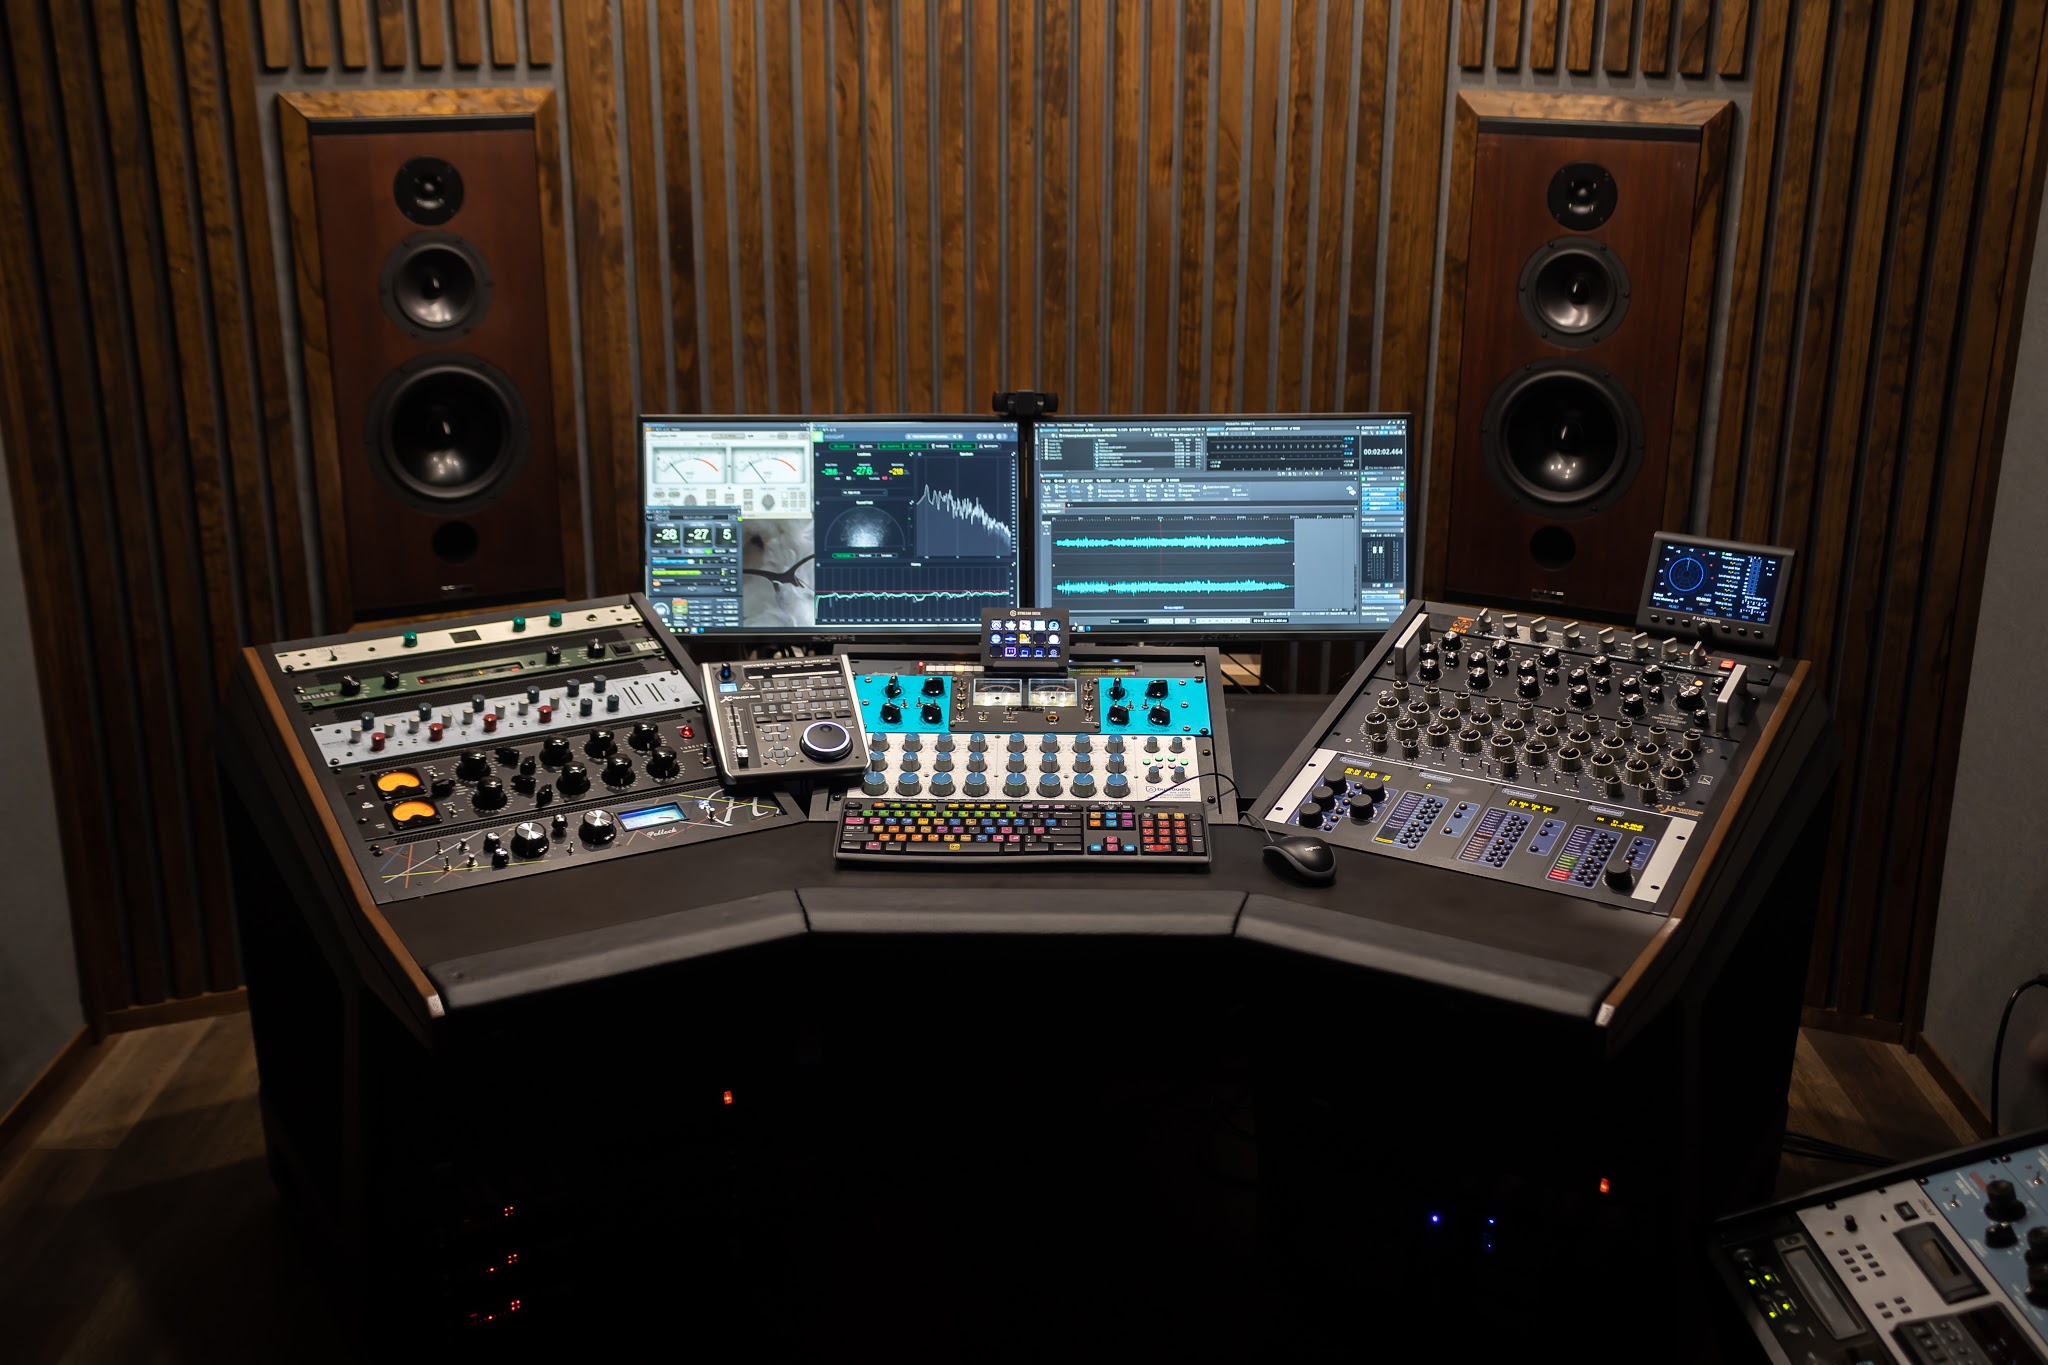
Where analog mastering fits into online preview workflows
Analog mastering is not about nostalgia. It is about a particular kind of control: weight without mud, presence without bite, and compression that feels like glue instead of a clamp. High-end analog EQ and compression can add density and depth in a way that is hard to fake, especially when you want loudness but still want the track to feel alive.
The trade-off is that analog workflows require calibration and real-time printing, which is why process discipline matters. A well-run preview-and-approval model is what makes analog practical for online clients. You hear the direction first, you sign off, then the final masters are printed and packaged correctly.
If you want an engineer who centers analog tone but still delivers modern assets like streaming-ready files and metadata-ready DDP, LB-Mastering Studios builds the workflow around that exact reality, including a free preview and revision support at https://lbmastering.com.
The approval moment: what to ask for before final files
Before you say “approved,” confirm what is being delivered and why. If you are distributing digitally, ask for a streaming-ready master at the proper sample rate and bit depth. If you are doing CD replication, you need a DDP image, not just WAV files. If you are planning vinyl, you need a vinyl pre-master with conservative low end management and appropriate headroom.
Also ask how the engineer handles fades, track spacing for albums or EPs, and versioning for explicit or radio edits. These are small details that cause big headaches when they are forgotten.
A free preview is your chance to slow down the last 2 percent of the process, so the release does not get rushed at the finish line.
You only get one first impression when your song hits someone’s speakers for the first time. Let the preview be the moment you protect that impression, then commit with confidence and move on to promoting the record.